Anime Dice Tower guide
Choose a Tower, prepare your team, and spend on Damage and Health when combat is your next goal.
The documented Tower choices are Dragon (Easy), Cursed (Medium), and Pirate (Hard). Start with the difficulty your team can sustain, then use the result of the fight to choose your next combat upgrade.
Tower difficulty comparison
These names describe the Tower selection shown in the available gameplay. They are not guarantees that a particular character, multiplier, or dice can clear every floor. The same team can perform differently after upgrades or balance changes.
Tower runs offer a change of pace from collecting and rolling. The guide reports Gems and Luck boosts as rewards, so inspect the reward panel for the run you are entering rather than assuming a fixed reward for every floor.
| Tower | Difficulty | A practical starting point |
|---|---|---|
| Dragon Tower | Easy | Learn how your current team handles fights |
| Cursed Tower | Medium | Try after the easier option feels comfortable |
| Pirate Tower | Hard | Use a developed team and review combat upgrades |
Prepare for the fight you are losing
Damage and Health become useful when Tower progress is the task. If your units disappear before making meaningful progress, look at survivability. If they stay alive but struggle to finish enemies, inspect damage and the strength of your equipped team. This is a diagnostic routine, not a claim about hidden combat formulas.
- Compare your equipped units before entering.
- Choose a difficulty you can assess without a long failed run.
- Note the floor where progress stops and what happens to your team.
- Make one relevant change to units or upgrades.
- Try the same difficulty again so the comparison is useful.
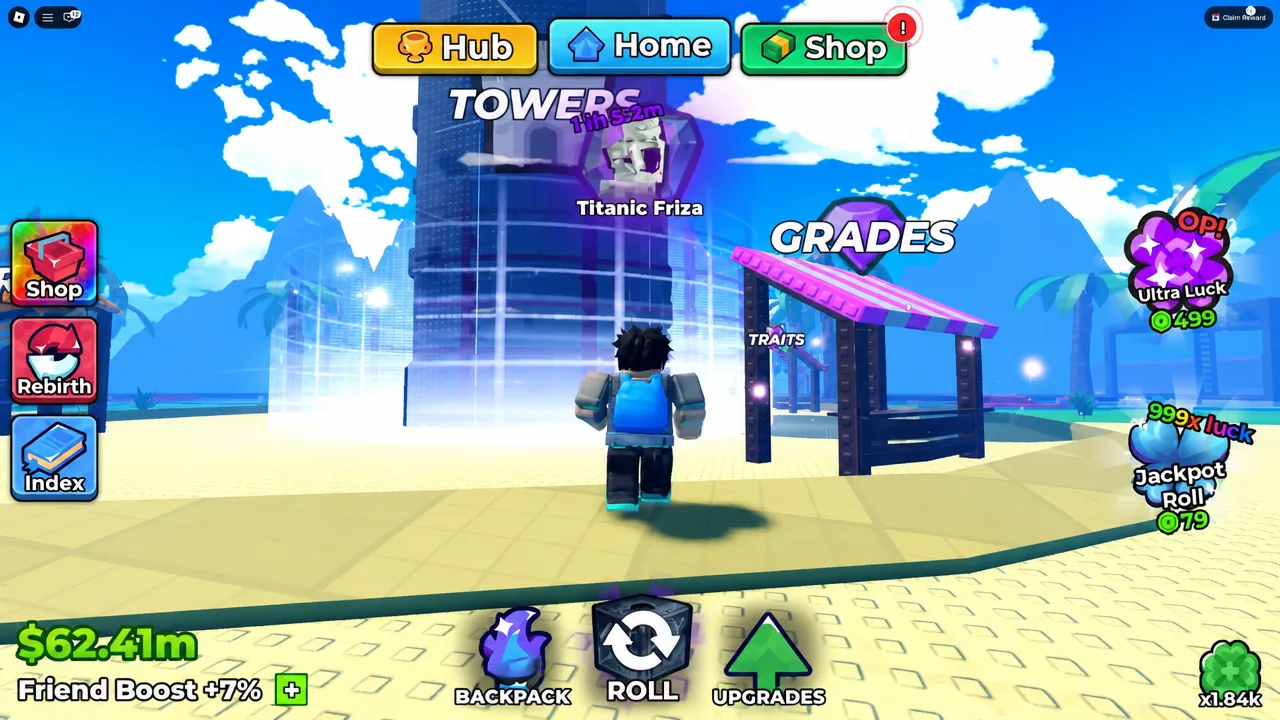
Keep the Tower budget connected to your economy
A Tower purchase uses cash that could move you toward a better dice. Decide which goal matters for this session. A player close to a dice threshold may prefer to finish that purchase first; a player with a stable income team may get more enjoyment and progress from a Tower attempt.
Avoid spending equally across Damage and Health just because both are combat stats. Read the next node and compare its cost with the problem you observed. The strongest next purchase is the one that solves the current limitation at a reasonable cost.
Collection rarity and combat readiness are different
A rare roll is exciting, but the useful comparison is between the units you can actually equip. Inspect the complete unit panel and its upgrades. An image of a rare character or a promotional “1 in” number does not establish its damage, survivability, or the best team for your account.
Save the names of promising units in your collection tracker. Keep wishlist entries separate from units you own so your next Tower plan reflects your available team.
See it in the game
Playing loads YouTube. Open on YouTube